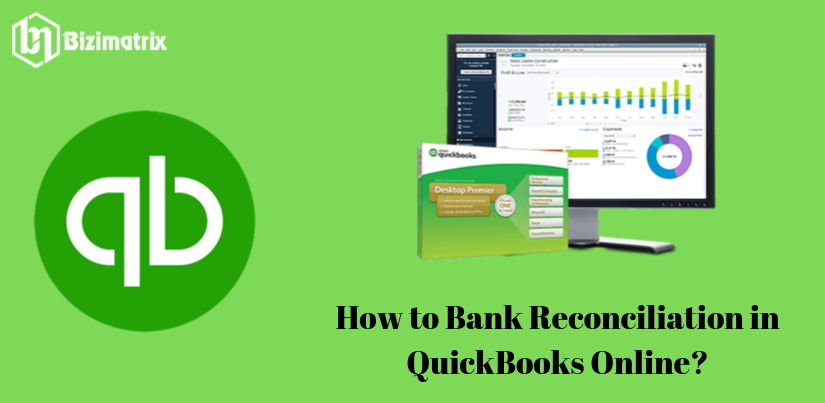
In this article, we discussing what is QuickBooks Bank Reconciliation & Why needs it? Today we are going to discuss the process of how to reconcile bank in QuickBooks Online? Bank Reconciliation is the most essential thing in accounting. When you are reconciling with a bank or credit card account, you can compare the balances and transactions listed within the QuickBooks company file with the bank or credit card company’s monthly statements and make sure they Match.
Fully reconciled and matched transactions mean that everything in the bank and books’ statements match, only coming in the form of differences in vague investigations. QuickBooks Online Bank Reconciliation is a duty with which you can match your QuickBooks transactions to assure everything is in line.
What is QuickBooks Online Bank Reconciliation?
Bank Reconciliation is the process of all entered transactions in QuickBooks Online using forms, bank feeds, third-part data fetching app, and so on. require to be reconciled with your bank account in QuickBooks Online.
We reconcile the checks drawn or made, credit card accounts, savings, and so on .and We can also reconcile current asset accounts and other liability accounts.
Importance of online QuickBooks bank restructuring
Reconciliation is a process that matches the data you enter in QuickBooks, which clears your data. If you miss any entry while entering data in the software then it can cause a lot of damage to your entire accounting system. It is most important for us to catch the missing entry. This is why many small business holders use the running bank account balance feature in QuickBooks software that catches every missing entry. Bank reconciliation has been suggested to be completed on a daily basis. So, all the discrepancies in your records and bank records can be resolved.
The question may come in your mind that how do I reconcile with QuickBooks Online? Don’t worry about it, you easily consolidate accounts in QuickBooks Online. When you reconcile with your bank account, your account gives most of the information related to the transaction. You add your oldest bank statement that has not been consolidated and you will compare the monthly bank statement to the transactions registered in QBs and this difference should be zero! Now the reconciliation process is complete.
You should match each dep [osits in your report to the people eminent in the bank report. If you have listed a deposit that the bank has not yet collected concurrently with an activity in the month, then list this deposit as a harmonized information that shows the bank’s depleted cash balance for your account. it shows. Should be calculated.
Steps for Setup Reconciliation in QBs Online
Navigate to the reconciliation menu:
- First, you select the bank, go to the home page and then click on the gear menu which is the name of your company and then click on the column heading tools and choose the reconciliation tab.
- Select Bank / Credit Card Account:
- Select your bank/credit card account that you want to harmonize with the drop-down menu options.
- Next, now click Reconcile, choosing your account.
Enter Details:
- To check that account, see a copy of the bank statement that you are reconciling with QuickBooks.
- Note the closing date and closing balance of the bank statement.
End date:
- Go back to QuickBooks Online and click Reconcile every day. Fill in your bank statement end date in the calendar drop-down menu.
Last remaining:
- Now get the reconciliation overlay and enter the balance on your bank statement, and click OK when finished.
Start Match Cost:
- Check your bank account for a bank statement and report the transaction
- Without a recorded window, match every transaction from your bank statement with an item in the list, you clearly match all transactions and check the box to the right of each match.
Statement Ending Balance:
Bank/credit card statement, it shows the amount you entered.
Beginning balance:
From last month’s statement, this is the final balance.
Clear balance:
When you start consolidating each item it depends on when you select a payment or deposit transaction.
Payment:
When you select a payment, the payment will go to match the detailed transaction section below.
Deposit:
When you select a deposit for reconciliation, the detailed transaction will grow below this transaction.
Difference:
QuickBooks Online calculates the difference between your bank statement balance and a clear balance, the difference is zero. This is a good result for you because it shows results.
For your better understanding, we share an example with you, when you spend money with QuickBooks Online, you check the total withdrawals or payments on your bank statements, $ 2548.35) The total withdrawals that we pay for QB ($ 2548.25). If this happened, you can proceed to the next step.
Sample bank statement: (for example)
| Beginning of balance at 1/1 | $ 150.56 |
| Deposit / Credit | 4,158.24 |
| Refund Debit | 2525.25 |
| Ending Balance 1/31 at | $ 1760.55 |
End Reconciliation:
When you find the target difference below zero. Now click on the Finish button to prepare Bank Reconciliation Report. Now, your QBO bank reconciliation process is over.
Check the reconciliation report:
You check your reconciliation report, return to the reconciliation menu you just entered, and click on it to open a detail window for the purpose of checking.
Now click on the Run Report to open a detailed description of your reconciliation.
Reports play an important role in decision making in accounting. Reporting helps us to check the data entered in the reconciliation. It also helps us to keep a record of necessary transactions in the future.
If you want to print the reconciliation of your bank then you should click on the report window and print your reconciliation report. If you want to give it to others you can print more copies.
Tip1. You can create a folder called bank/credit card account and which will save all bank reconciliation reports in it.
Alternatively, you can use any other method to get a detailed report by following the steps below.
- If you want to see the reconciliation report, first click on the “gear button”.
- Click the “Reconcile” tab under the tool’s drop-down menu.
- Click “Recompile History” from the top right corner of the window.
- From the “Account” drop-down choose the account.
- You can open the report by clicking “View Report” under the “Action” tab.
- You must click on this print to print in the upper right corner of the report.