Know how you can track your inventory in QuickBooks Online Plus and Advanced. QuickBooks Online contains everything required to manage your inventory. Track what is on hand, get the alerts at the time of restocking, and looking for insights on what you sell and buy. By entering in non-inventory products and services you are able to add them quickly for your sales forms. We will support you to set it up and get going.
QuickBooks Online Plus and Advanced both have Inventory features. In case you do not use Plus or Advanced yet, then you will need to upgrade your QuickBooks subscription to start tracking your inventory.
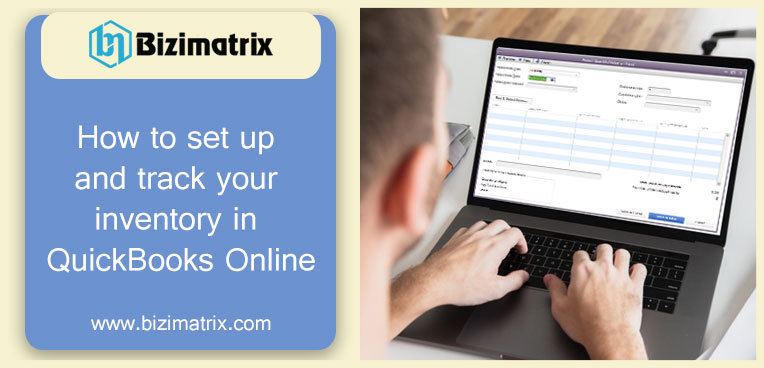
Step 1: Turn on your inventory tracking
- In case if you have not yet turned on these settings so you are able to add your inventory.
- Go to setting and then choose Account and Settings.
- Click on the Sales tab.
- Click on the Edit option from the Products and Services section.
- Now, Turn on the Show Product/Services column on sales forms.
- In case if you want to set up flexible pricing for the things that you sell you can turn on price rules.
- Turn on the Track inventory quantity on the hand and Track quantity and rate/price.
- Now, hit on the on Save and then Done.
Let us see how does QuickBooks handles your inventory accounting
QuickBooks will always take the first product you buy as the first product you sell. And this method is called “first in first out” or FIFO by accountants. However, all accounting software does not use this FIFO method.
In case you are switching from average costing or an item that utilizes it, inform the IRS and let them know you are moving to “first in first out” or FIFO.
Step 2: Add your inventory products
You can add inventory items and also can add other products and services which you sell in QuickBooks. It helps to add them quickly as line items for your sales forms. Steps are slightly different in adding inventory, non-inventory, and service.
Add the products which you want to track as part of the inventory.
Follow the given steps to add inventory items. These are the products which you sell that allow you to set and track the quantities of product.
Add services and products which you buy or sell, however, do not track as part of your inventory.
- Go with the steps to add service items. These are services which you sell to customers, for example, landscaping bookkeeping services.
- Go with steps to add non-inventory items. These are things which you buy or sell but you don’t track as inventory. For example, nuts and bolts both used in an installation.
- Go with the steps to create bundles. Bundles allow you to make a group of multiple products or many services together. For example, cheese, a gift of a fruit basket, or wine. The addition of products in the bundle helps and saves you from the one by one selection in receipts or in invoices.
Note: Remember always QuickBooks would never track quantities for non-inventory items, services, and bundles
Step 3: Keep continue track of what sells
After doing a set up of all your inventory products you can track them at the time when they sell. Two ways are available to track what do you sell:
- In case you will get paid later than Create an invoice.
- In case your customer paid on the spot then Add a sales receipt.
Depending on the amount of the invoices or sales receipt QuickBooks will decrease what is on hand.
Check what is on hand and what is on order as your work
Check what is on hand and what is on order like you work according to invoice, sales receipt, or any other type of transaction. Now keep your pointer over the quantity that you entered for an item to check more information.
QuickBooks will allow you to know at which time something is running low if have set reorder points. In case if you set a low stock alert then QuickBooks will also allow you to know at which time something is running low.
Note: If want to check the quantity of all products on hand, go to the Sales menu and then to the Products and services tab or run reports to check what’s in stock at any time whenever you want.
Step 4: Restock your inventory at right time.
QuickBooks informs you about the time when required to restock. You can do an order of inventory right in QuickBooks. Track what have you received from the vendors and what is still on the order. By doing this the quantity on hand increases automatically by the number of items you receive. Know how to reorder anything that’s running low or out of stock.
Step 5: Check the status of your inventory by utilizing Reports
You can access your reports to immediately view your sellers, what is on your hand, the price of your products, and many more.
Conclusion
If you buy products that you have to resell to your clients or even if you make the items that you have to sell to your clients, you must understand that what is your cost. Why do you sell the item and the reason behind it and how many do you have on your hand. So by setting up and tracking your inventory in QuickBooks Online, you will be able to manage all of these and many more.
Now that you learn all the features of keeping track of your inventory in QuickBooks Online, ensure to contact our free QuickBooks online support number at +1-855-999-0211 and get help regarding how you can track your inventory.